How To Back Up Facebook Photos In 2023 – Easiest Way
A Complete Guide For How To Export Photos/Pictures From Facebook To Google Photos
But, uploading your photos to Facebook is extremely easy and straightforward. Now that you need them back, how will you get them back to your phone without stress? I guess that’s the primary reason you’re here, and this article will give you a step by step guide on how to do it.
How To Back Up Facebook Photos 2023
- You must have a Facebook account.
- A valid email address is required.
- Google Photos app : It usually comes with many phones, but if you don’t have it, just click here to download it.
Steps on how To Back Up Facebook Photos 2023
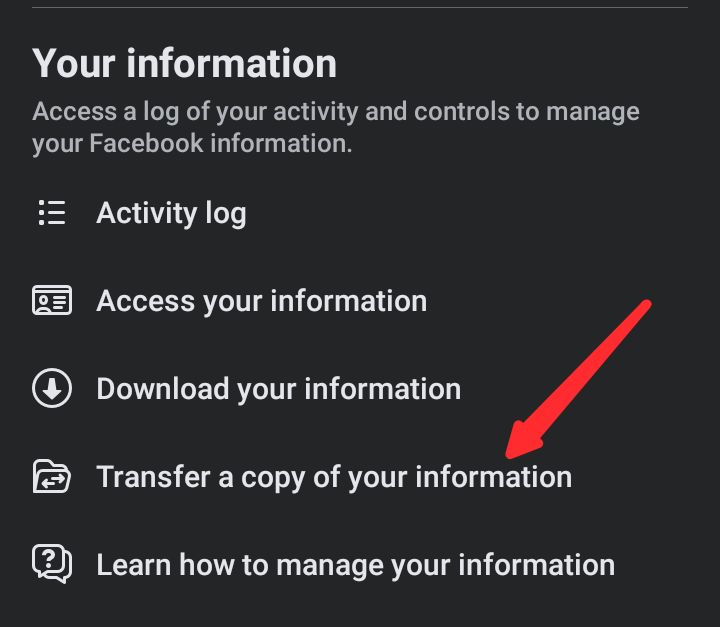
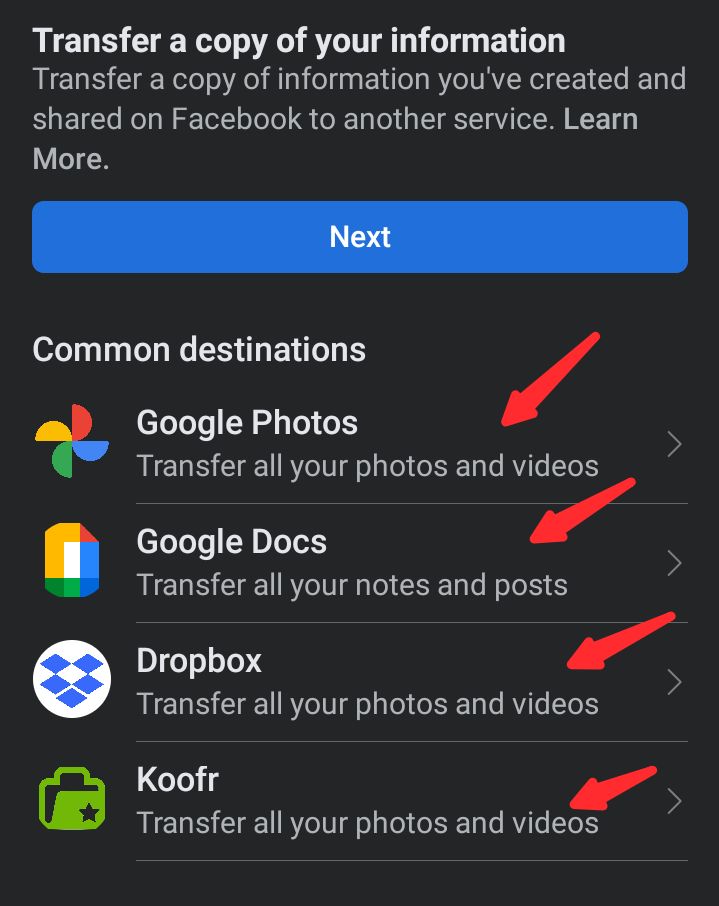
2. The next step is to select the destination, which is where you want to save the photos. Click the Choose Destination button and select Google Photos. You can also choose Google Docs or Dropbox.
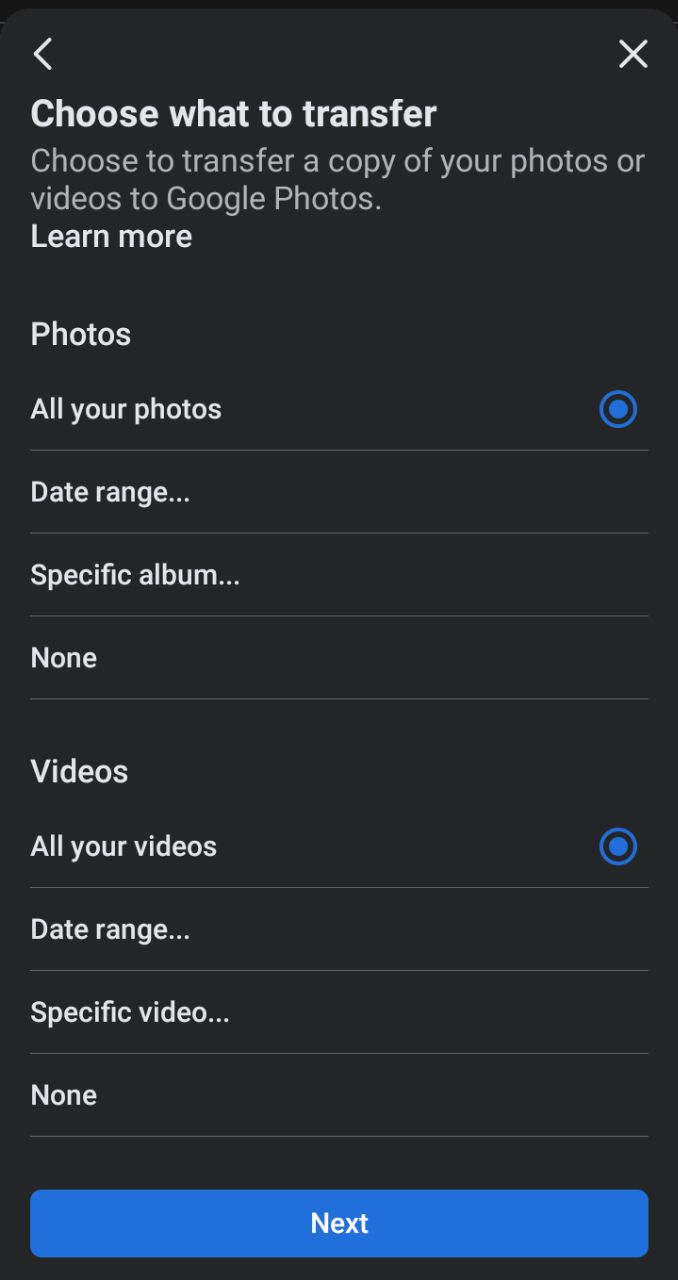
3. A preview of the options you have selected will appear. Ensure that you have selected the right path, videos, date range, and specific album that you have created in Google Photos, then click on confirm transfer.
4. When you proceed to the next screen, you will be asked to select a preferred email address or log into your Google account; if you have an email account that has already been logged in, select that and continue, if not, enter your email address and password to proceed.
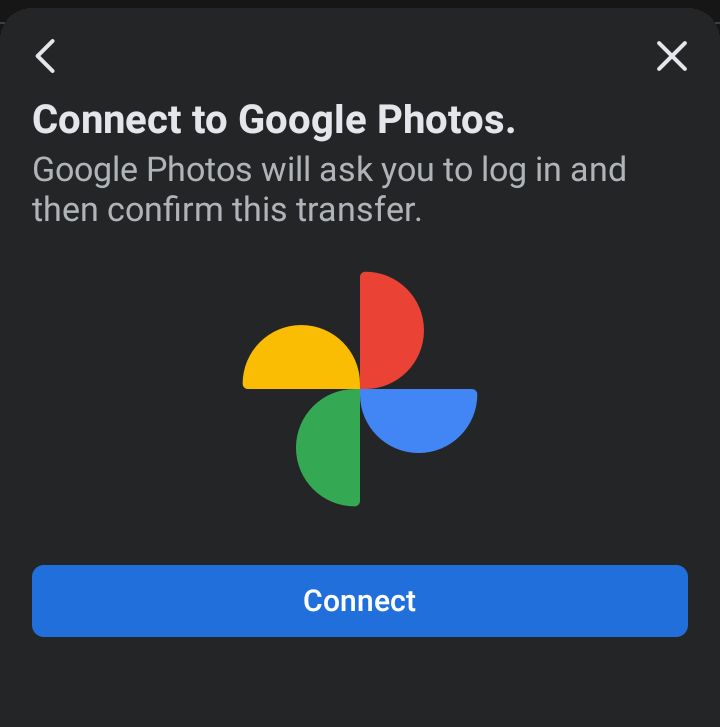
Congratulations! You can now open your Google photos app and view your pictures. Google photos is a lot like other gallery apps, except that your email address is linked to your account, which is not so with other gallery apps.
You just discovered the detailed guide to backing up your Facebook photos in 10 simple steps.
Feel free to leave any questions or comments related to this guide in the comments section below and we will respond as quickly as possible.


